Introduction
The Coding Wizard Lingma, developed by Alibaba Cloud, is an AI-powered tool designed to optimize the developer experience within their work environment. Integrated into Visual Studio Code (VS Code), Lingma offers advanced functionalities such as smart autocomplete, contextual chat, code hints, and explanation of fragments, which allows for increased productivity and reduced development time.
In this article, I want to share a step-by-step guide on how to install and configure the AI Coding Assistant Lingma in Visual Studio Code, validating its operation through a brief practical exercise.
Installation
1️⃣ Prerequisites
Before you begin, you should make sure you have the following components installed:
- Make sure your operating system is Windows 7 or later, macOS, or Linux.
- Download Visual Studio Code (current version or higher than 1.68) and proceed with the installation.
- Alibaba Cloud Account to access the Lingma service. If you don't have an account, please register on Alibaba Cloud.
2️⃣ Opening Visual Studio Code
Open Visual Studio Code from the PC. Once started, verify that the environment is working correctly and that you have access to the tab Extensions, located on the left side panel (blocks icon or press Ctrl + Shift + X).
3️⃣ Search for the Lingma extension
- In the search field, type “Lingma” or “AI Coding Assistant Lingma”.
- Visual Studio Code will display the official extension published by Alibaba Cloud.
- Select the extension to view the details, version, author, and description of the wizard.
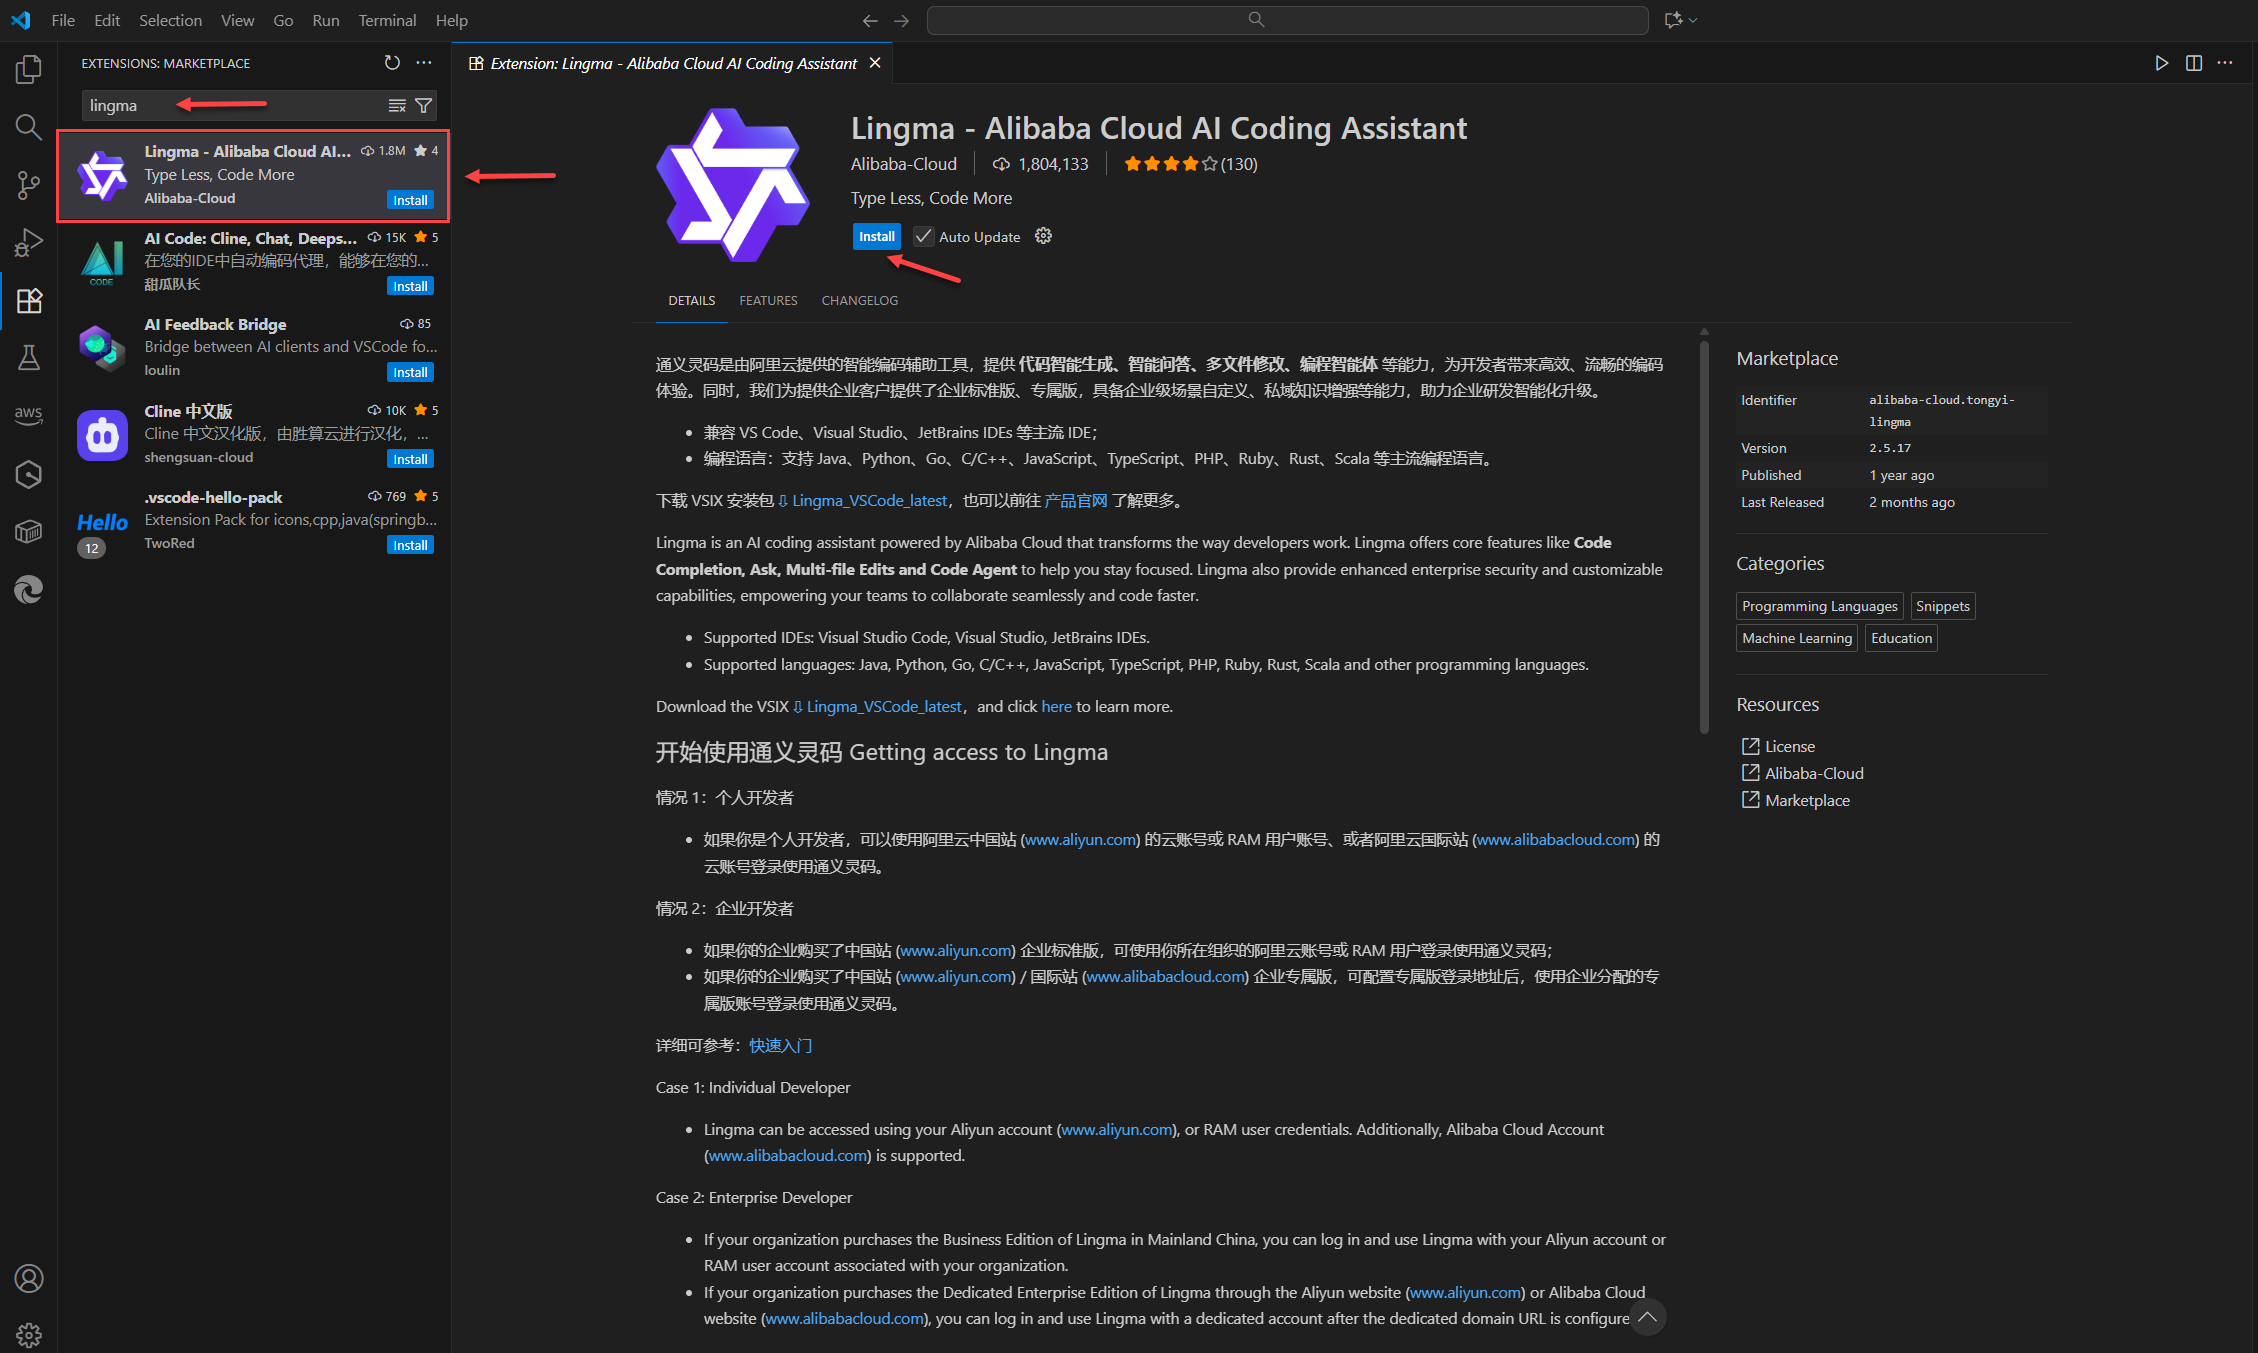
Figure 1 – Visual Studio Code – Extensions Section: Marketplace
4️⃣ Installing the extension
Click on “Install”A dialog box will appear asking if you trust the publisher "Aliibaba-Cloud". Click "Trust Publisher and Install". The installation process may take a few seconds depending on your connection. Once complete, Visual Studio Code will display a confirmation that Lingma AI Assistant has been installed correctly.
 Figure 2 – Visual Studio Code – Publisher Trust Confirmation Dialog Box
Configuration
1️⃣ Access to the configuration panel
With the extension installed, open the Command Panel (Ctrl + Shift + P) and look for the option “Lingma: Sign In” or “Lingma: Connect to Alibaba Cloud”. This will allow you to authenticate your work environment with your Alibaba Cloud account.
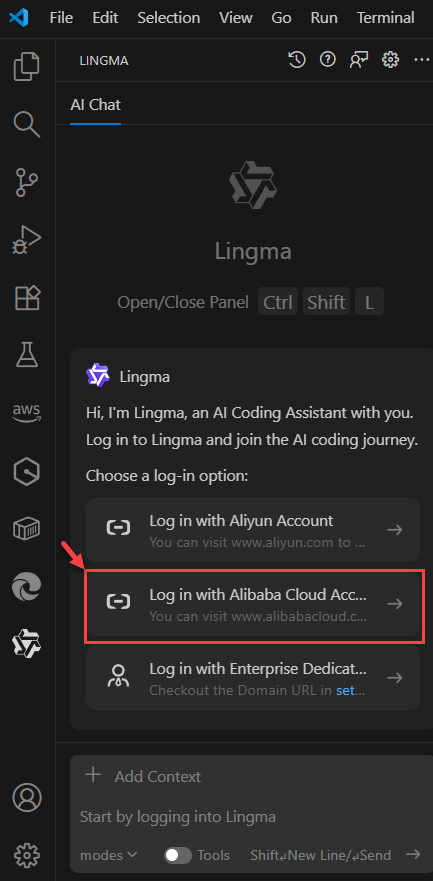 Figure 3 – Visual Studio Code – Lingma Login
2️⃣ Alibaba Cloud Account Login
- Select your preferred authentication method (username and password or Single Sign-On).
- A pop-up window will then appear asking if you agree with the terms of use and privacy policy. Click Accept and log in.

Figure 4 – Visual Studio Code – Terms of Use and Privacy Policy Popup Window
- We proceed to enter the credentials (email, password) of our Alibaba Cloud account and, if MFA is enabled, enter the respective code.
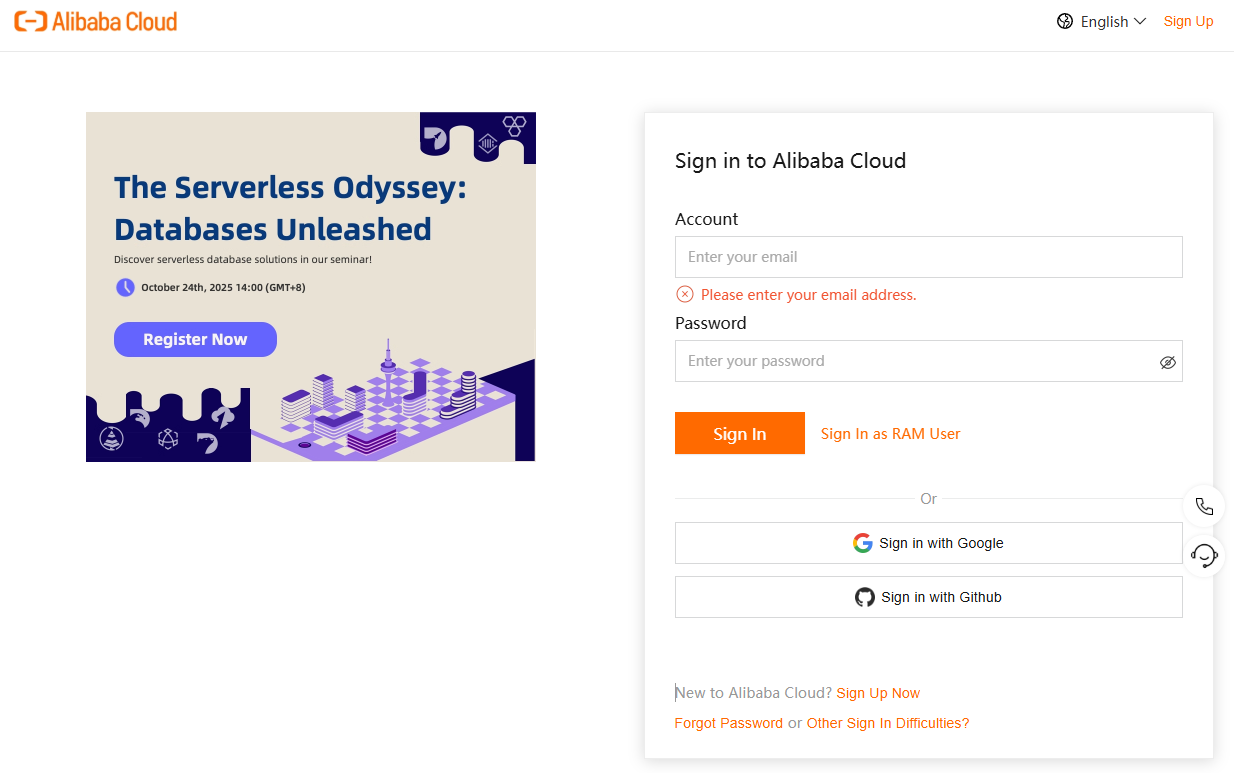
Figure 5 – Alibaba Cloud – Login Page
- Once authenticated, Lingma will automatically link the account and display a confirmation message indicating that the connection was successful.
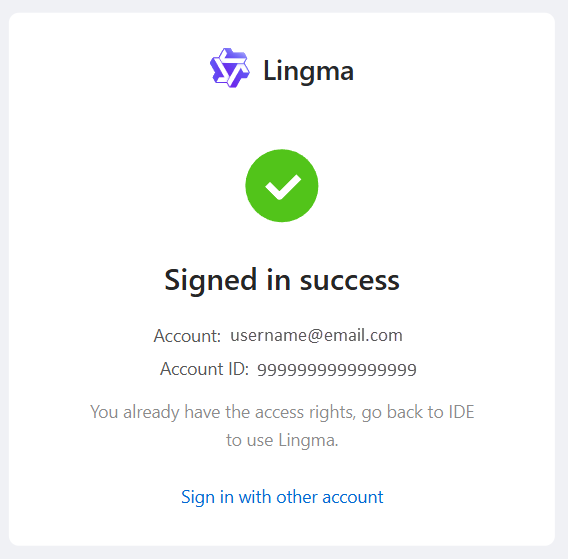
Figure 6 – Alibaba Cloud – Lingma Integration Confirmation Page with Visual Studio Code
3️⃣ Configuration Verification
We enter the section of the installed extension and at the top appears our email with which we accessed the Alibaba Cloud account and click on "Your Settings", there we will see the configuration and the type of account we have for the Lingma AI Assistant.
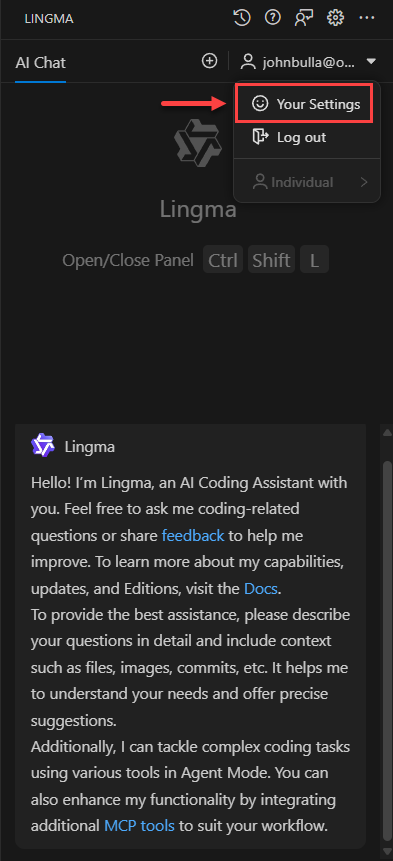 Figure 7 – Visual Studio Code – Lingma work session
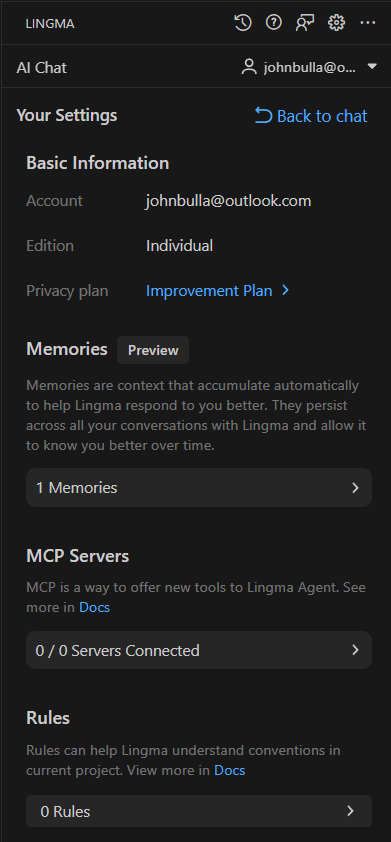 Figure 8 – Visual Studio Code – Lingma Configuration
Examples of use
Next, we'll perform a series of steps to test the wizard's functionality. To do this, I'm sharing some code written in Python that writes the Fibonacci series.
import os
import platform
import datetime
import getpass

def clear_screen():
    """Clean the screen according to the operating system."""
    if platform.system() == "Windows":
        os.system("cls")
    else:
        os.system("clear")

def show_header():
    """Displays a header with date, time, and user."""
    usuario = getpass.getuser().upper()
    fecha_actual = datetime.datetime.now().strftime("%Y-%m-%d")
    hora_actual = datetime.datetime.now().strftime("%H:%M:%S")
    sistema = platform.system().upper()

    print("=" * 70)
    print(f" FIBONACCI SERIES GENERATING SYSTEM ".center(70, " "))
    print("=" * 70)
    print(f" DATE: {fecha_actual}   HOUR: {hora_actual}   USER: {usuario}   SYSTEM: {sistema}")
    print("-" * 70)
    print(f" Developed in Python | John Bulla | Versión 1.0 ".center(70, " "))
    print("-" * 70)
    print()

def fibonacci(n):
    """Generates a list with the first n numbers of the Fibonacci series"""
    serie = []
    a, b = 0, 1
    for _ in range(n):
        serie.append(a)
        a, b = b, a + b
    return serie

# Programa principal
if __name__ == "__main__":
    clear_screen()
    show_header()

    try:
        amount = int(input("Enter the number of numbers to generate: "))
        print()

        result = fibonacci(amount)

        print("-" * 70)
        print(" FIBONACCI SERIES RESULT ".center(70))
        print("-" * 70)

        # Display results in tabular format
        for i, value in enumerate(result, start=1):
            print(f" {i:>3} | {value:<10}")

        print("-" * 70)
    except ValueError:
        print("\n[ERROR] You must enter a valid integer.")

    input("\nPress ENTER to exit...")
When running this code the result is as follows:
======================================================================
                  FIBONACCI SERIES GENERATING SYSTEM
======================================================================
 DATE: 2025-10-11   HOUR: 17:15:00   USER: JOHNB   SYSTEM: WINDOWS
----------------------------------------------------------------------
            Developed in Python | John Bulla | Versión 1.0
----------------------------------------------------------------------

Enter the number of numbers to generate: 12

----------------------------------------------------------------------
                       FIBONACCI SERIES RESULT
----------------------------------------------------------------------
   1 | 0
   2 | 1
   3 | 1
   4 | 2
   5 | 3
   6 | 5
   7 | 8
   8 | 13
   9 | 21
  10 | 34
  11 | 55
  12 | 89
----------------------------------------------------------------------

Press ENTER to exit...
Remember that that Lingma offers AI chat features in three modes: Ask, Edit, and Agent. These features help developers solve coding problems, fix bugs, debug, and troubleshoot runtime errors. Lingma also offers multi-file editing, autonomous decision-making, codebase awareness, and tooling to complete coding tasks from start to finish.
Next, we'll ask the wizard to explain each block of the source code to us.

Figure 9 – Visual Studio Code – ASK Mode
Now I'm going to modify something in the source code to generate an error and see how the agent helps me understand the problem and how to solve it:

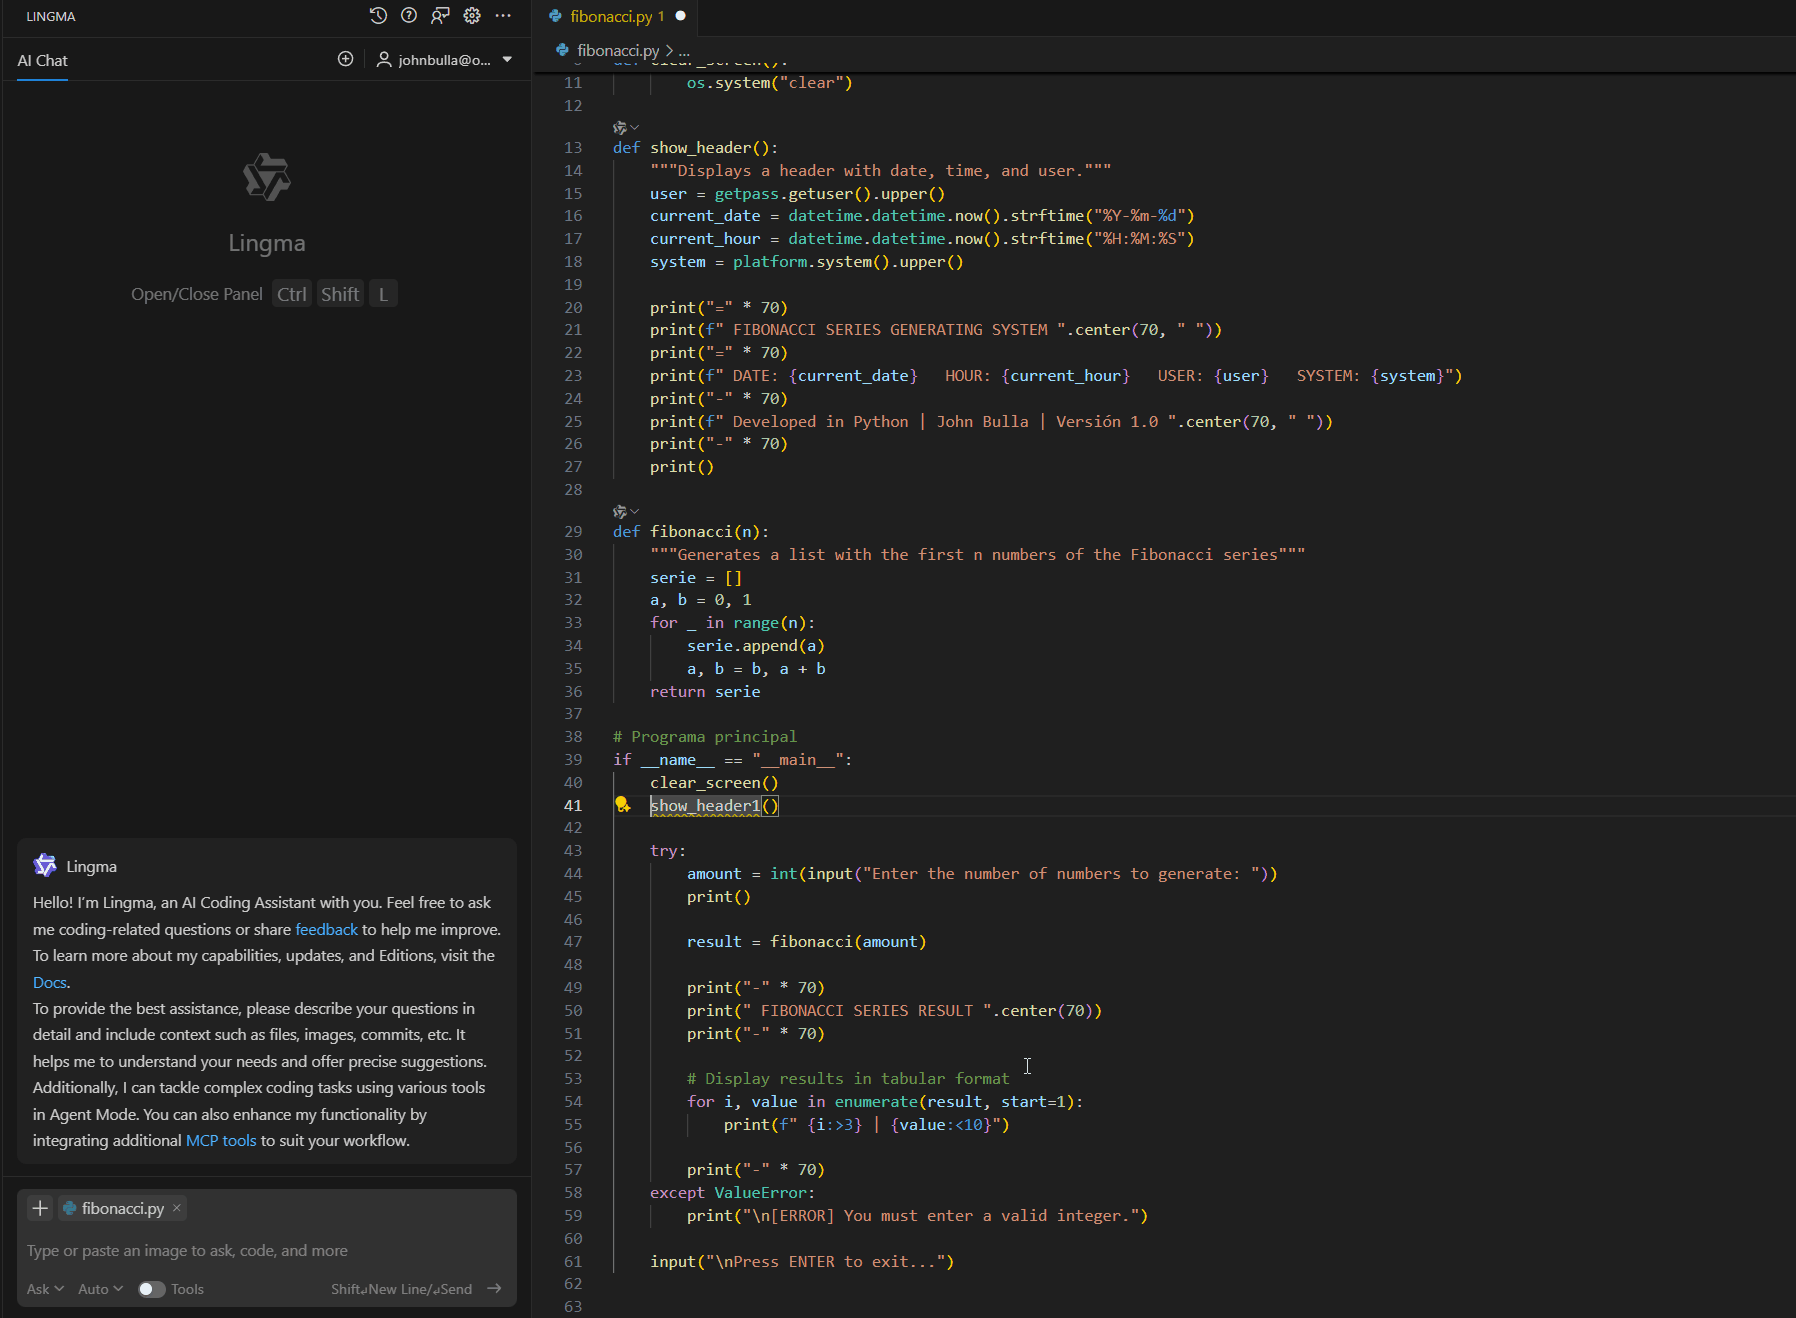
Figure 10 – Visual Studio Code – ASK Mode
Conclusion
With the installation and configuration complete, Lingma AI Coding Assistant is fully integrated into Visual Studio Code, providing developers with a powerful and adaptable tool that leverages artificial intelligence to improve code writing efficiency.
Lingma stands out for its ability to understand the context, offer smart suggestions and didactic explanations, becoming a strategic ally for both beginners and experienced professionals.
By integrating with the ecosystem of Alibaba Cloud, Lingma opens the door to a new generation of AI-assisted development tools, with a vision focused on productivity, innovation, and software quality.
Resources
For more information and further exploration, please visit the following official links:
- Alibaba Cloud – AI Coding Assistant Lingma
- Visual Studio Code (official download)
- Official documentation of the Lingma extension
- Alibaba Cloud AI & Machine Learning Portfolio
Hope will be useful.
Follow us: